Bookbinding

I’ve been thinking about making my own sketchbook for a few years now. It is hard to find a sketchbook to purchase that has proper watercolor paper, 100% cotton rag paper. There are watercolor sketchbook with 140 lb. paper, but the paper is not cotton rag and interacts with the water very differently and is not as good for the wet-in-wet technique. The paper in my favorite sketchbooks, the Stillman & Birn (I like the Beta one), pools the water on the surface of the paper, takes a while to absorb into the paper, and dries unevenly, making it difficult to use with the wet-in-wet application. With 100% cotton rag paper, the water absorbs into the paper right away, leaving a damp, even surface that is ripe for the application of pigment. Cotton rag paper also allows for lifting without damaging the surface of the paper.
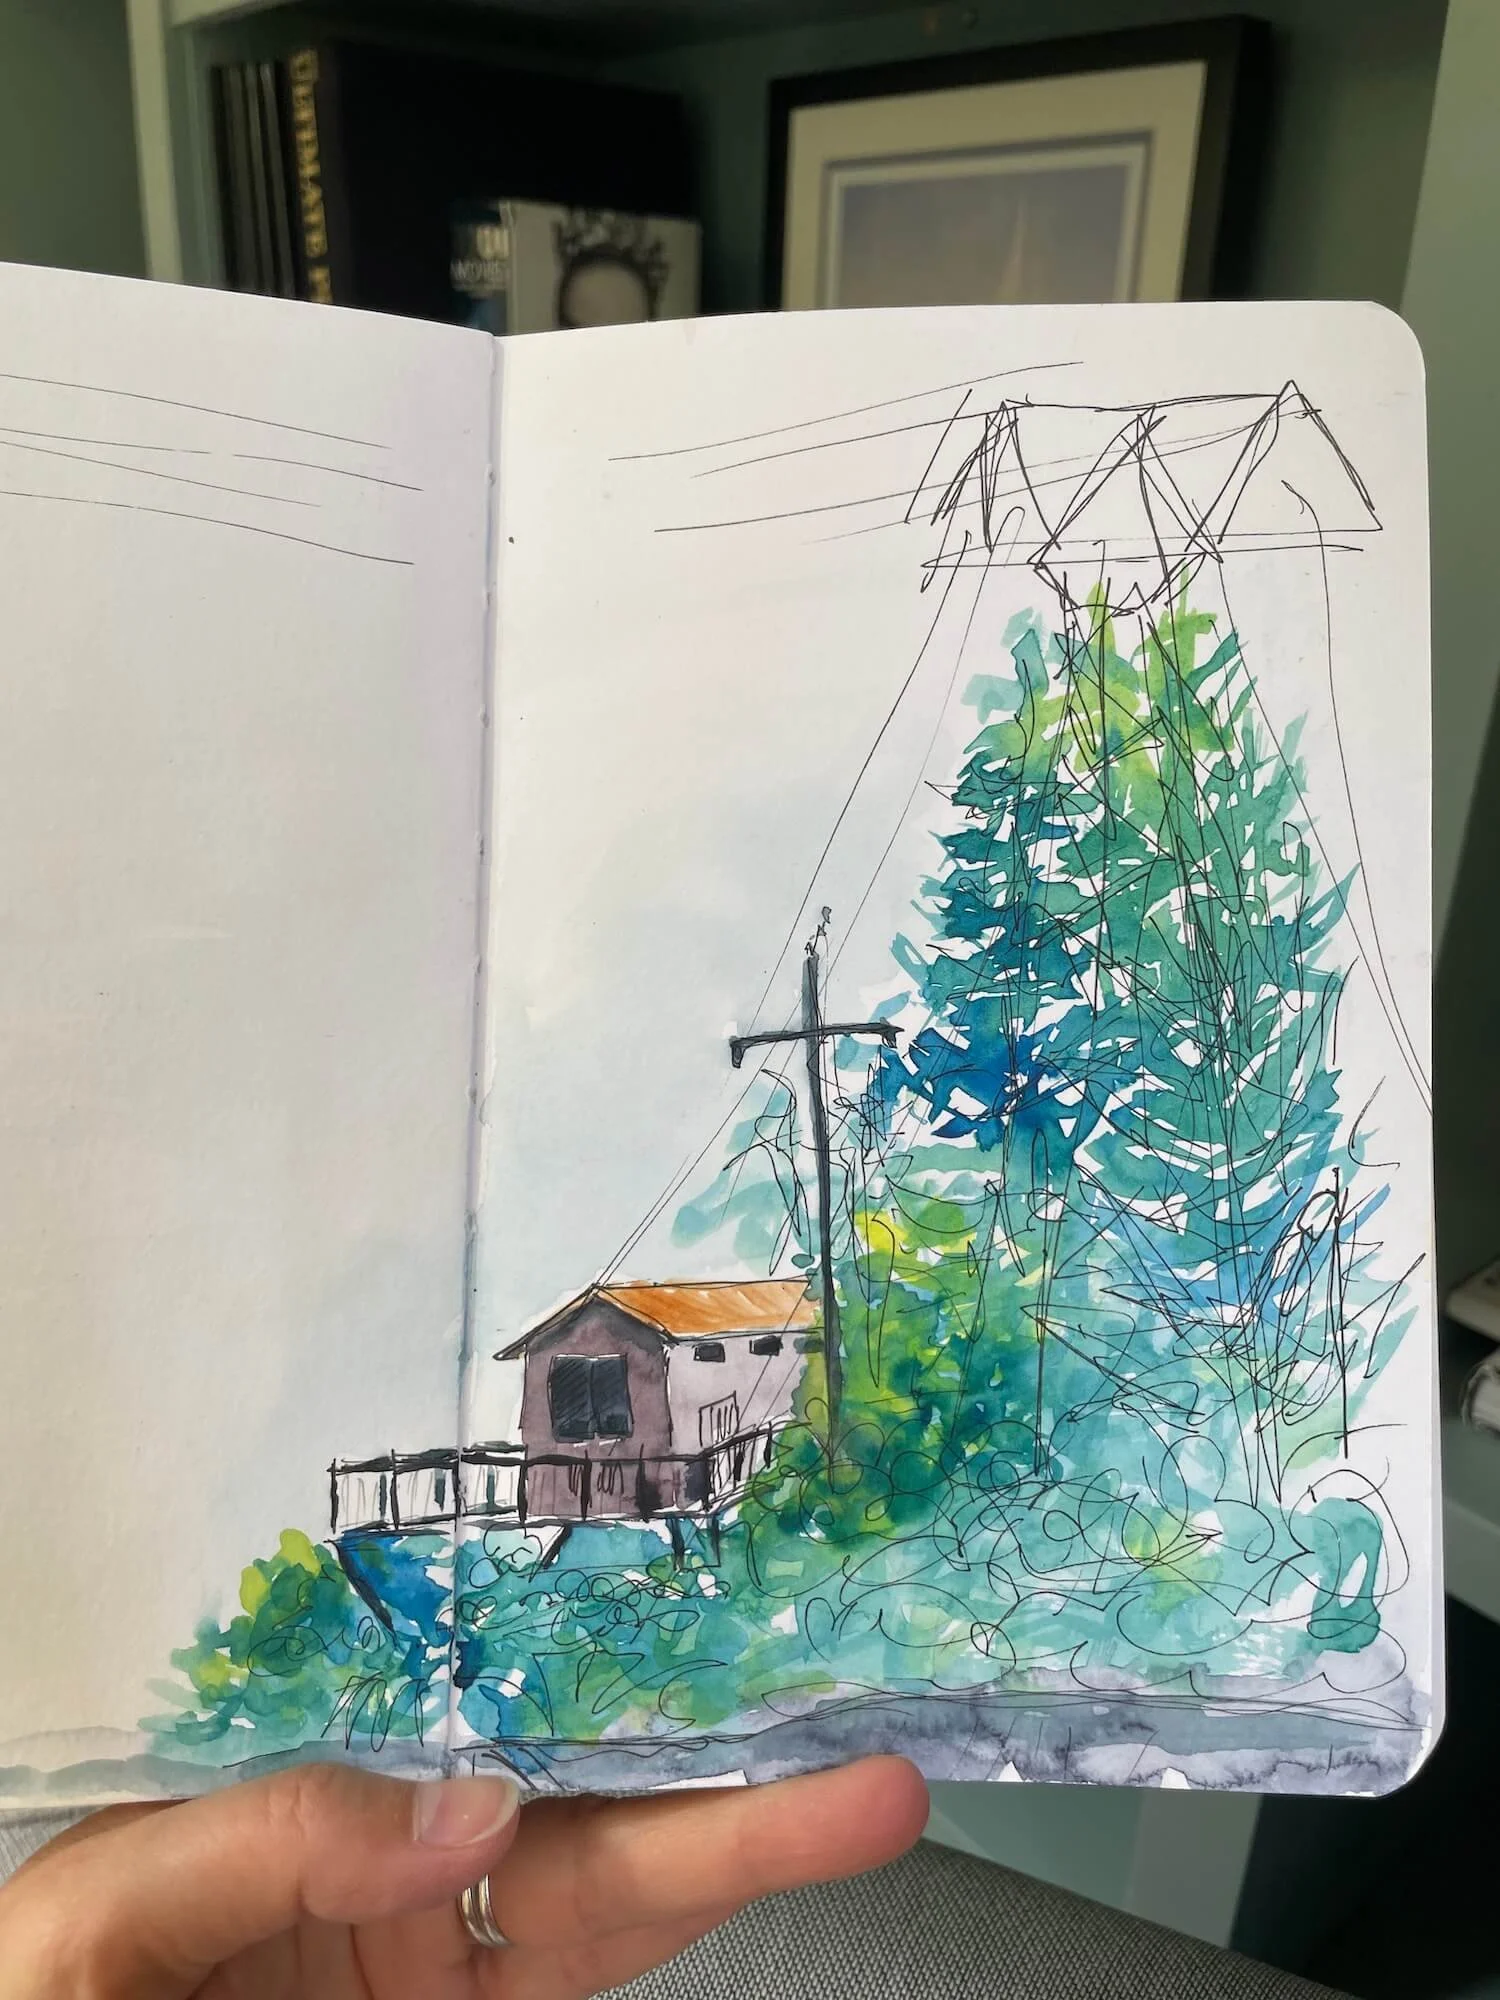
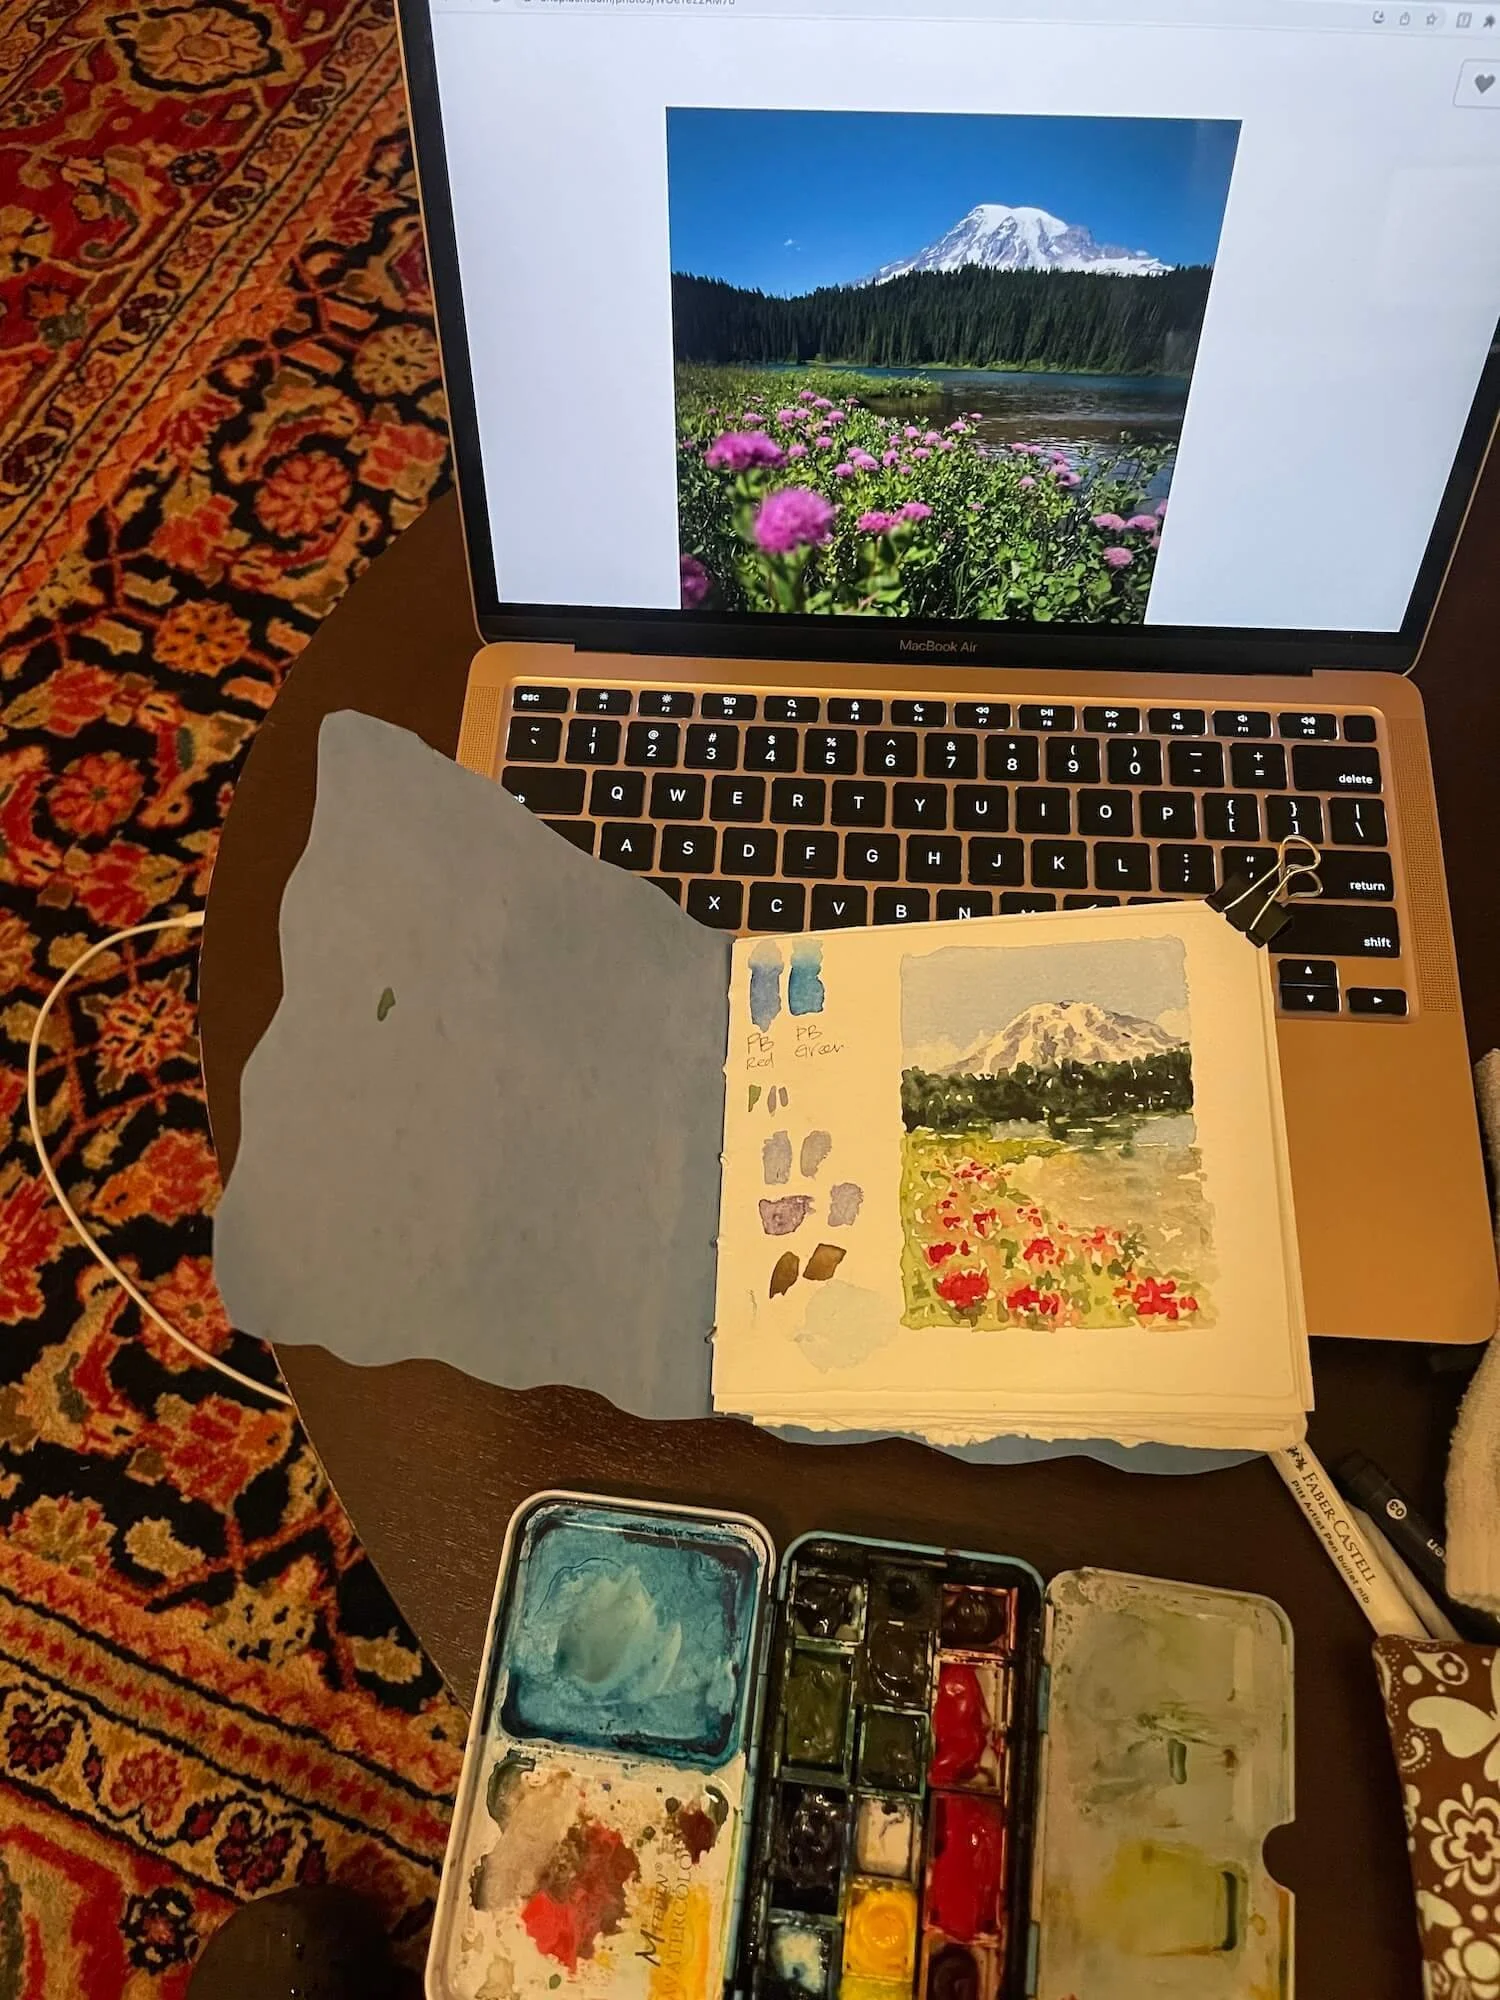
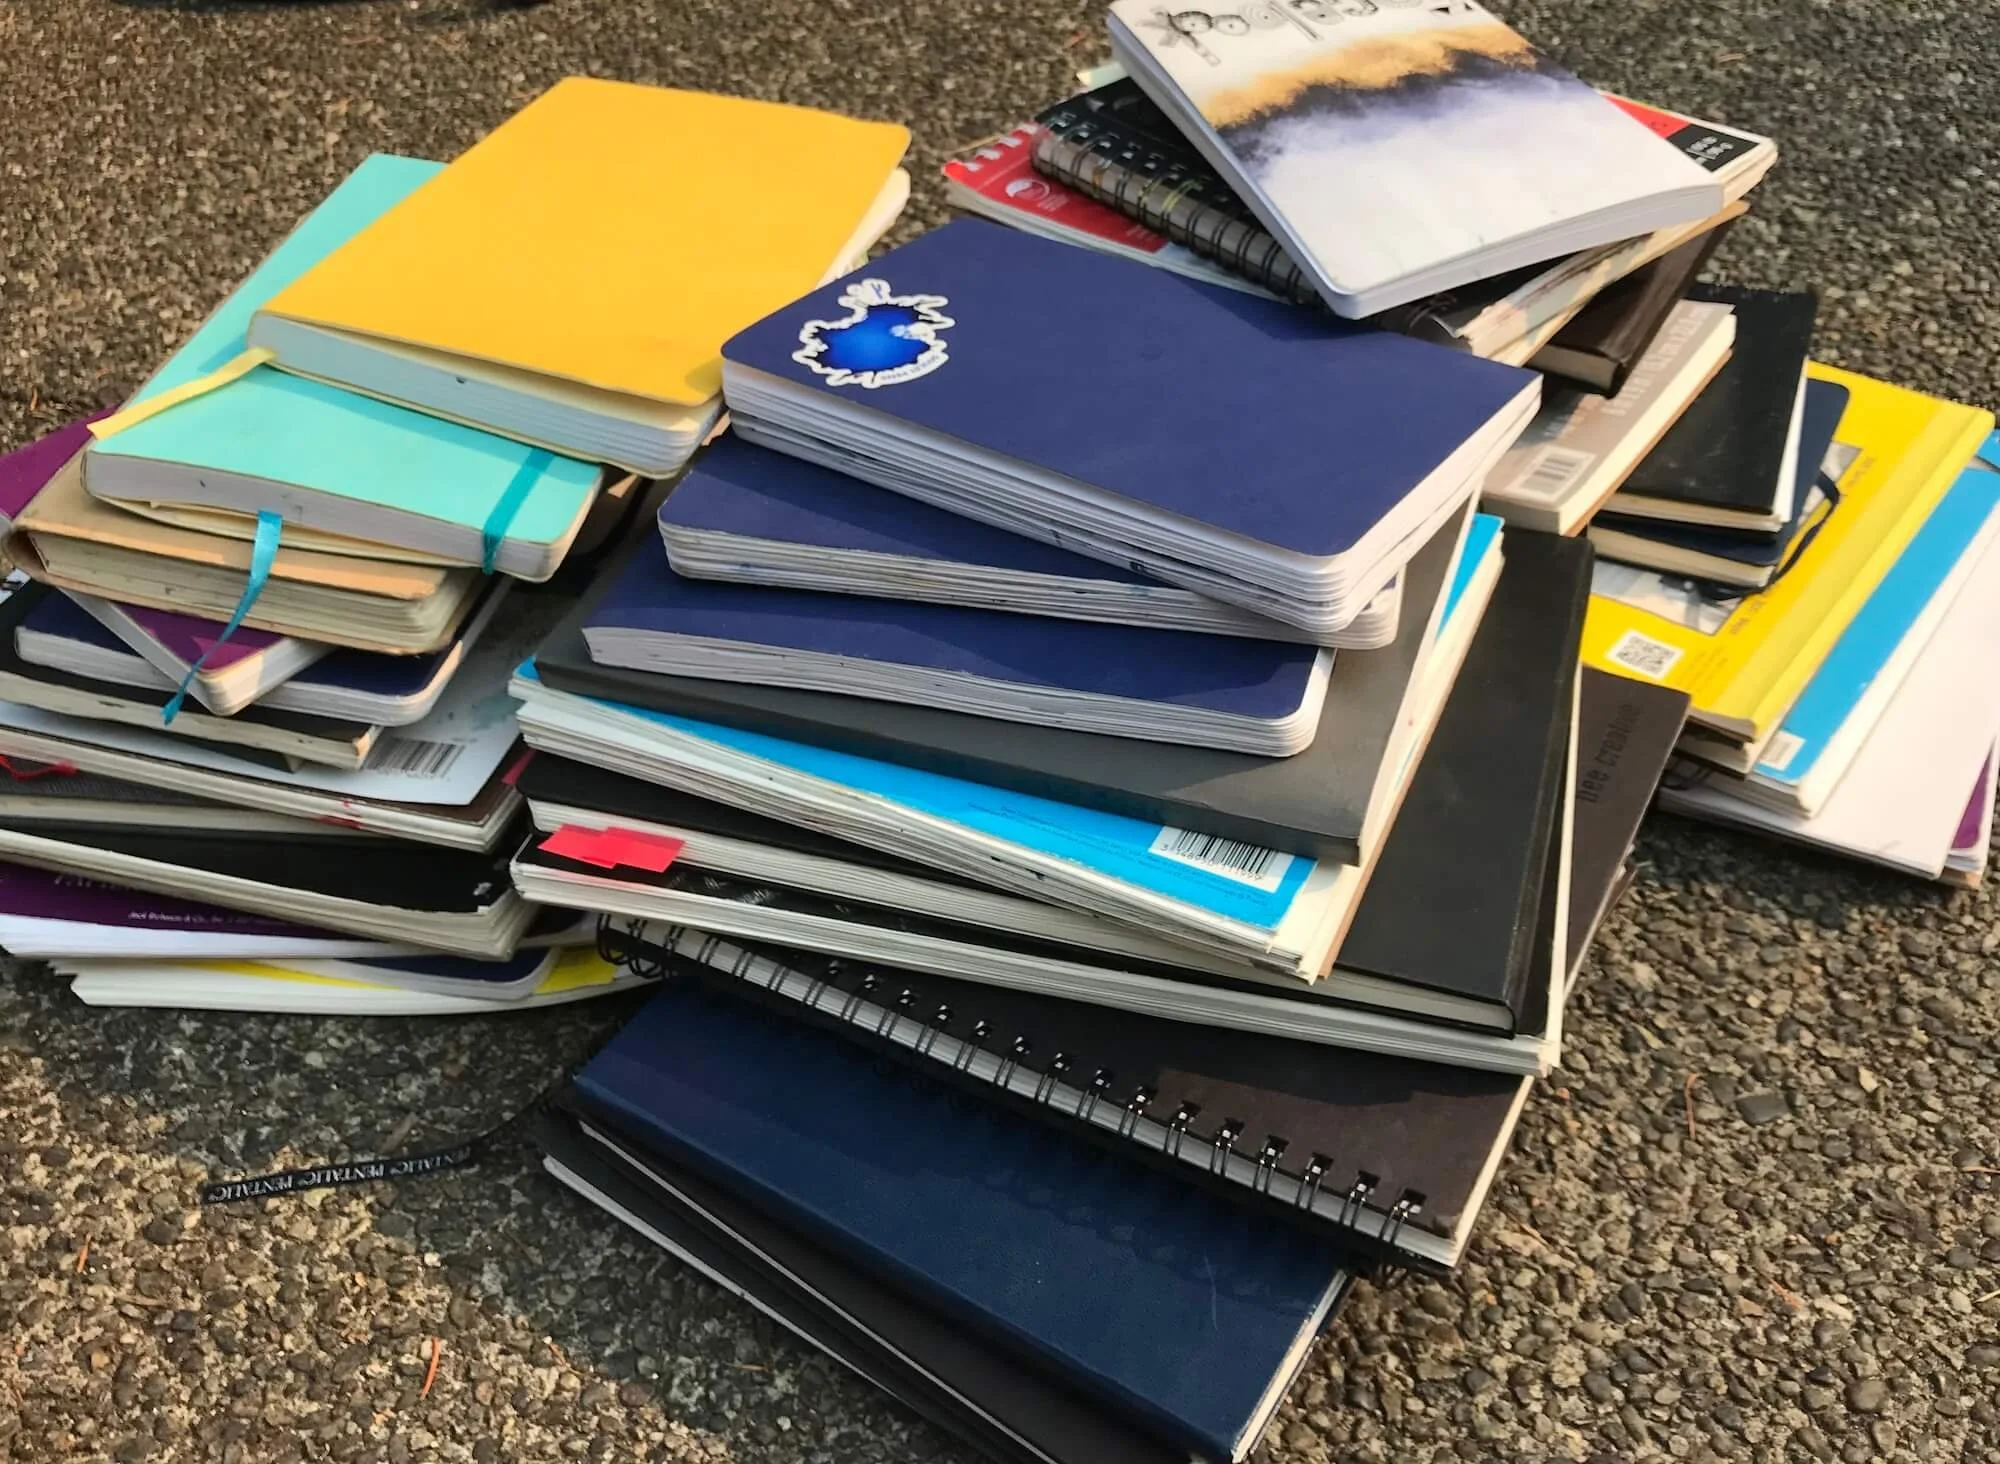
I wanted a small-sized book that I can easily take on location to do small, quick studies. In particular, I wanted a smaller size so that I could work on small landscape studies. Landscapes are good to do on proper paper if I want the interaction of the pigment and water to add texture to the sketch. I also know that small paintings are faster, and the more paintings I complete, the more my skills progress.
I purchased an online class from my multi-talented website developer, Ellie Beck of Petal Plum. The class includes different stitches to bind the book together. Ellie is a lovely creator, as you can see from her photos and fabric arts. Her soothing tone was encouraging and peaceful. My stitches did not result in a beautiful pattern as hers do, but that’s natural – it was my first one. I will make many of these books over the years and the one I make five years from now will be much better than this one. In the meantime, I will have fun and learn so much filling the pages.
The equipment was simple: paper of my choice (Ellie uses organic materials to dye paper and fabrics, and did so in her book – incredible! Since I was going to paint in mine, I skipped this step. For a journal, her dyed pages would be divine…), a cover, waxed thread, a needle, an awl.
The awl was necessary to poke holes in the paper for the thread. I did not have an awl. I wasn’t sure what an awl was. It would have been easy to hop online and buy one for this project. I probably could have had it delivered the next day. But Ellie repeated in class not to run out and buy new materials, but instead to look around my home and see what I already had that I could use.
I took Ellie’s words to heart. I enjoy the satisfaction of repurposing items and knowing that in some small way I avoided contributing to the carbon footprint of our consumerism. Not ordering an awl meant that I avoided putting an item on the container ships that are confusing the whales with their sonar noises. I am aware of how I participate in the consumerism that is impacting our planet. Some of that is unavoidable, but I could do better. Ellie’s reminder and encouragement was welcome, as was her consideration of the planet as she is creating. I hear her gentle voice saying, “use what you have.”
So, I looked around the house: what did we have that I could use instead of an awl? I tried an eyeglass screwdriver in the cupboard, and tried that. The tiny Philips head was difficult to poke through the thick paper. Scratch that. I went to a hardware store and almost succumbed – at least I would be supporting a local business? — but the awl they had in stock was big enough to make holes to thread a hose. And I really wanted to make it work with something we had on hand. Finally, I tried a nail. I tried two different sizes I found in Steve’s tools in the garage. One was hard to work through, but the other – voila! I now have a tiny kit of necessary bookbinding supplies, including the humble nail for the holes.
Another thing I needed was a cover. “Use what you have.” This one was easy — I found old file folders from many office moves ago. They are thick, like card stock, and the perfect cover for this purpose. And since they are legal paper length and in a box in the attic, they would otherwise never have been used. Yay! I used what I had on hand and avoided purchasing yet more stuff.
I purchased wax thread for this project, which it turned out I also did not need. In a later video, Ellie showed that you can drag regular sewing thread across a candle and achieve the waxed effect. How resourceful! Next time I can use colored mending thread.
It is not often that I make three-dimensional art with my hands – other than meals with my favorite flowers, vegetables. Poking a nail through paper is not as gentle as my usual creative endeavors with watercolor and soft brushes. But the process was so satisfying, and afterwards, I held a well-bound book for my efforts, ready for on location landscapes and sketching adventures.

*This post contains affiliate links.